Air Fryer Broccoli
By Martis Guleryan Updated
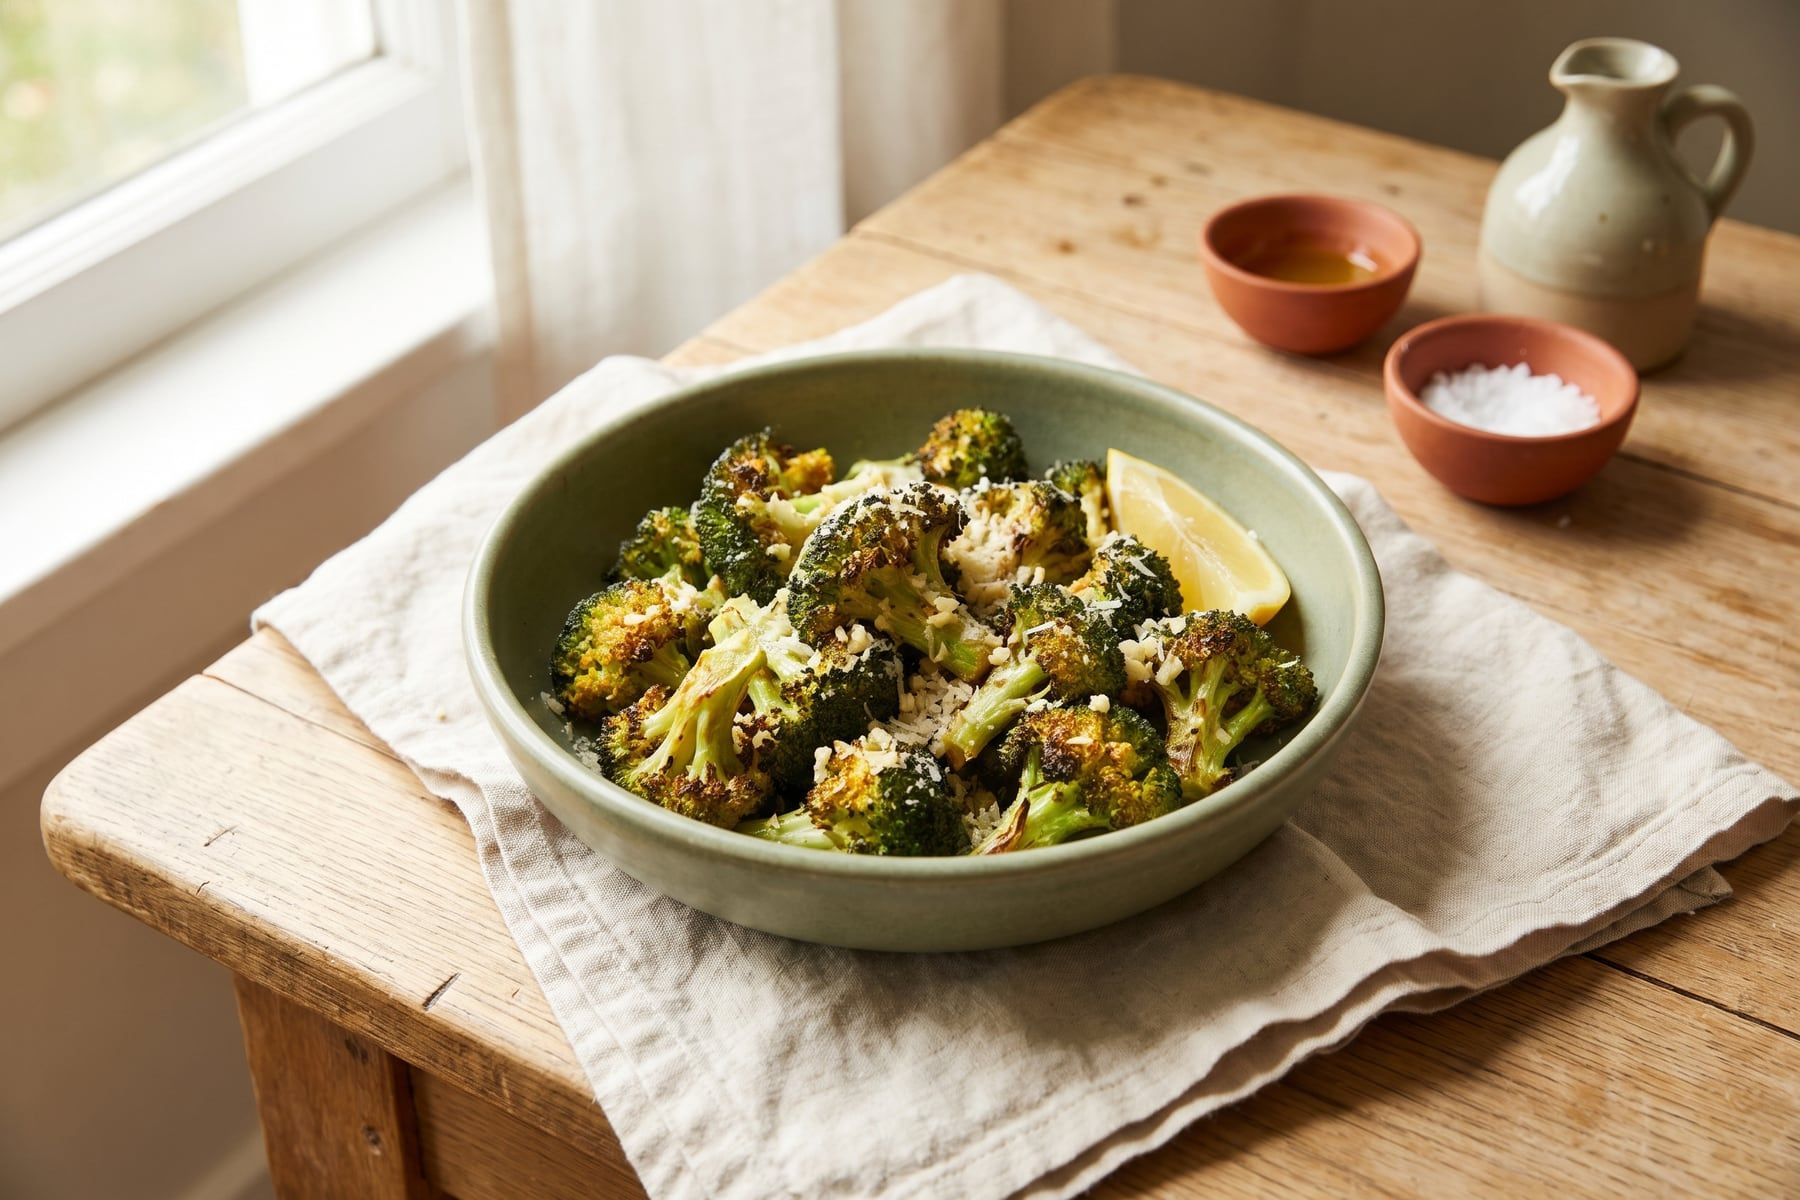
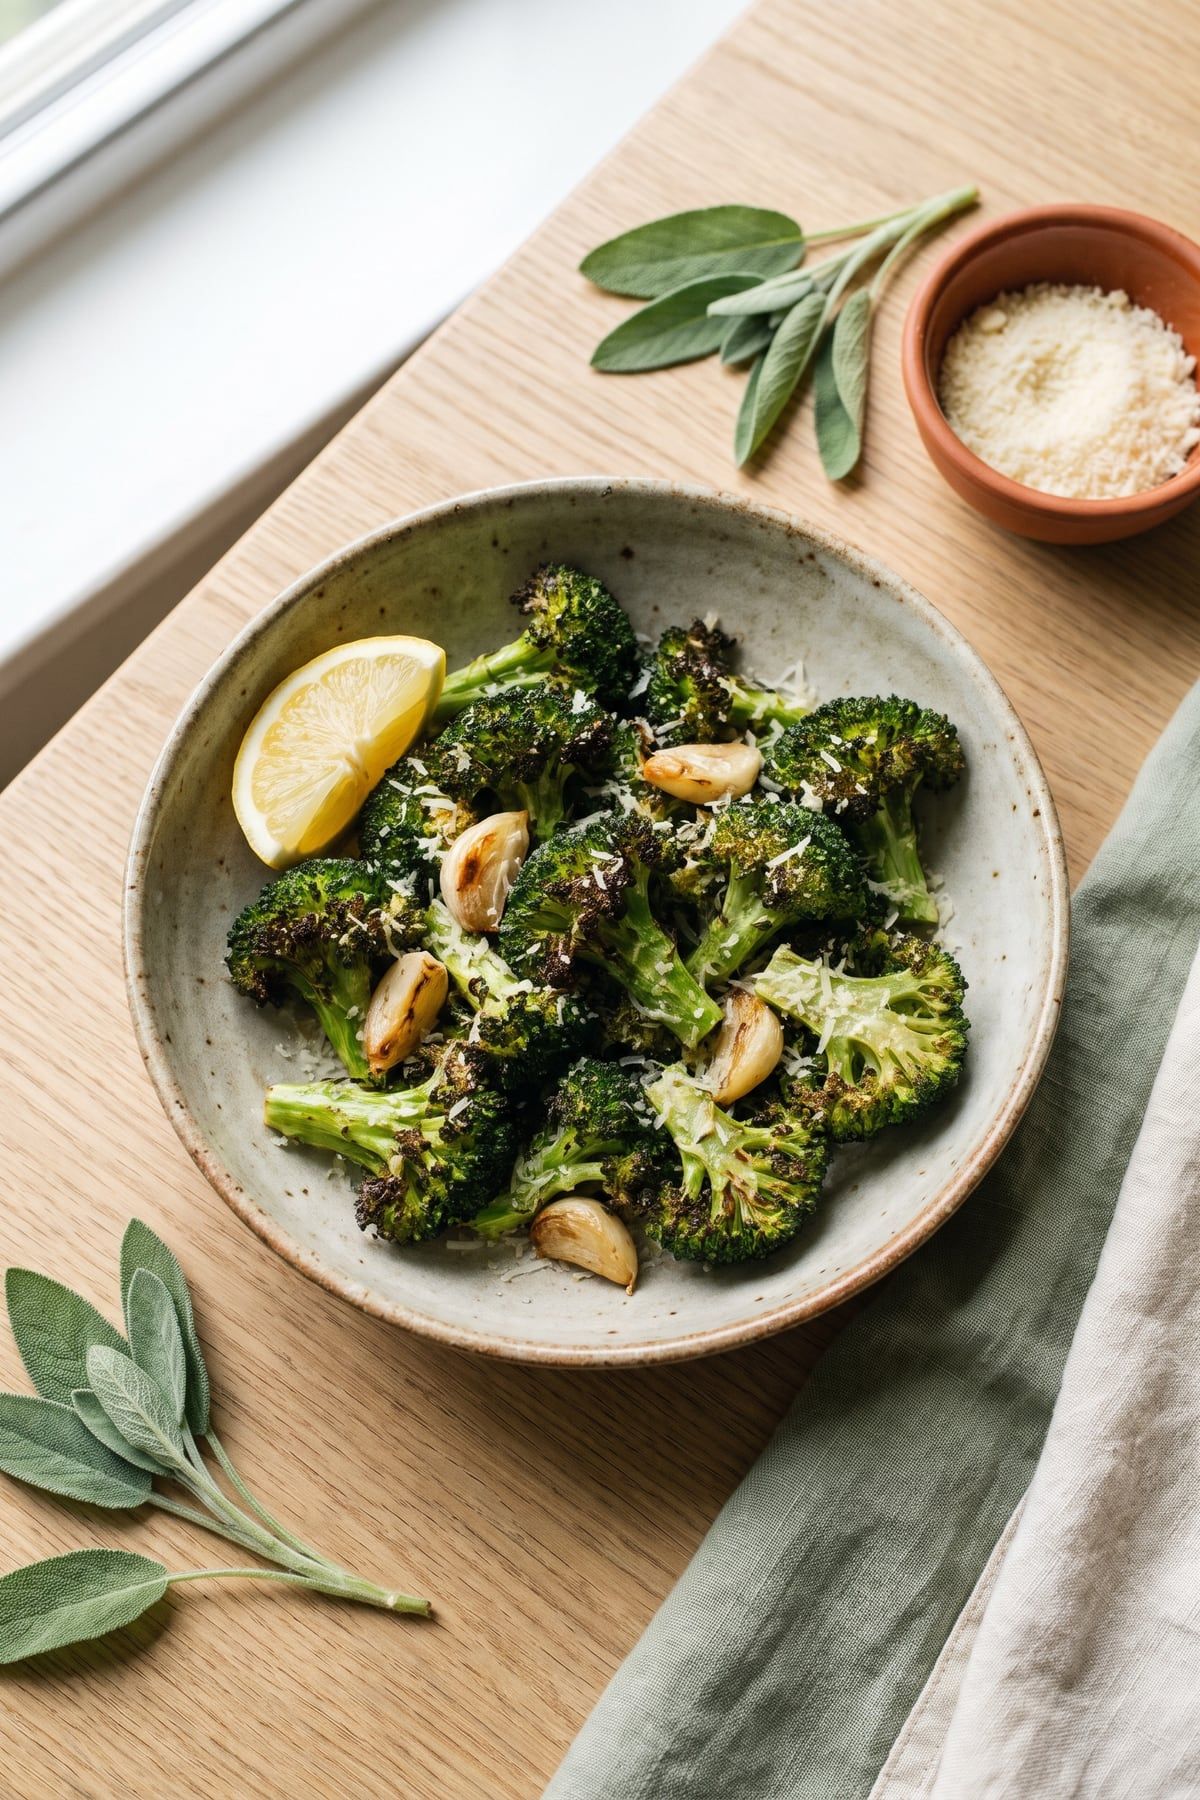
In short: Toss broccoli florets with olive oil, garlic powder, salt and pepper, air fry at 375°F for 8–10 minutes, shaking halfway, then finish with Parmesan and lemon. About 15 minutes total; serves 4.
- 15 min
- 4 servings
- Easy
Why you’ll love this recipe
Air frying gives broccoli the crispy, nutty edges of oven roasting in about half the time. It is a vegetable side you can start when dinner is almost ready and still have on the table in 15 minutes.
- About 15 minutes from cutting board to table.
- Pantry seasonings — olive oil, garlic powder, salt and pepper.
- Flexible — finish with Parmesan, lemon, chili flakes or soy sauce.
Cutting broccoli for even cooking
Broccoli cooks unevenly because the florets are thin and airy while the stems are dense. Cut florets to about 1½ inches and split any thick stems lengthwise so every piece is roughly the same thickness. The peeled main stalk is good to eat too: trim off the tough outer layer and slice it into ¼-inch coins, which cook in the same time as the florets.
Ingredient substitutions
| Instead of | You can use |
|---|---|
| Fresh broccoli | Frozen florets, cooked from frozen at 400°F (200°C) for 12–15 minutes. They will be softer and less crisp. |
| Parmesan | Nutritional yeast for a dairy-free option, or skip the cheese and finish with toasted sesame seeds and soy sauce. |
| Lemon | A drizzle of balsamic glaze or a dash of hot sauce. |
Air Fryer Broccoli
- Prep
- 5 min
- Cook
- 10 min
- Total
- 15 min
Ingredients
Metric weights use ingredient-specific densities from King Arthur Baking — Ingredient Weight Chart. For baking, weighing is more accurate than cups.
Instructions
Tap a step number to mark it done.
-
Step 1: Heat the air fryer
Heat the air fryer to 375°F (190°C) for 3 minutes. Meanwhile, cut the broccoli into similar-sized florets, splitting thick stems lengthwise.
-
Step 2: Season
Make sure the florets are dry. Toss them in a large bowl with the olive oil, garlic powder, salt and pepper until evenly coated, working the oil into the tops of the florets.
Tip: Use garlic powder rather than fresh garlic during cooking; minced garlic burns quickly in the fast-moving hot air.
-
Step 3: Air fry
Spread the broccoli in the basket in a loose single layer, working in two batches with a smaller air fryer. Cook 8–10 minutes, shaking the basket halfway, until the stems are crisp-tender and the floret tips are browned and crisp.
-
Step 4: Finish
Transfer to a bowl, toss with the Parmesan and a pinch of red pepper flakes, and squeeze lemon over the top. Serve right away.
Equipment
- Air fryer (basket style)
- Large mixing bowl
Recipe from joyfulhomecooking.com/recipes/air-fryer-broccoli/
Tips for the best results
- Dry the broccoli well after washing. Wet florets steam instead of crisping.
- Do not overcrowd the basket. Hot air needs to reach every floret for browning.
- Add the Parmesan after cooking. The fan can blow cheese around the basket and it scorches quickly.
Storage, reheating and freezing
- Refrigerator
- Refrigerate within 2 hours in an airtight container for 3–4 days.
- Reheating
- Re-crisp in the air fryer at 375°F (190°C) for 2–3 minutes until hot.
- Freezing
- Not recommended. Cooked broccoli turns soft and watery after freezing.
Frequently asked questions
What temperature should I air fry broccoli?
375°F (190°C) gives charred tips without burning the florets before the stems soften. At 400°F, check after 6 minutes.
Why is my air fryer broccoli burnt but still hard?
The florets were probably too small compared with thick stem pieces, or the temperature was too high. Cut pieces evenly and split thick stems.
Can I add fresh garlic?
Yes, but add minced garlic for only the last 2 minutes of cooking, or toss it with the hot broccoli after cooking, so it does not burn.
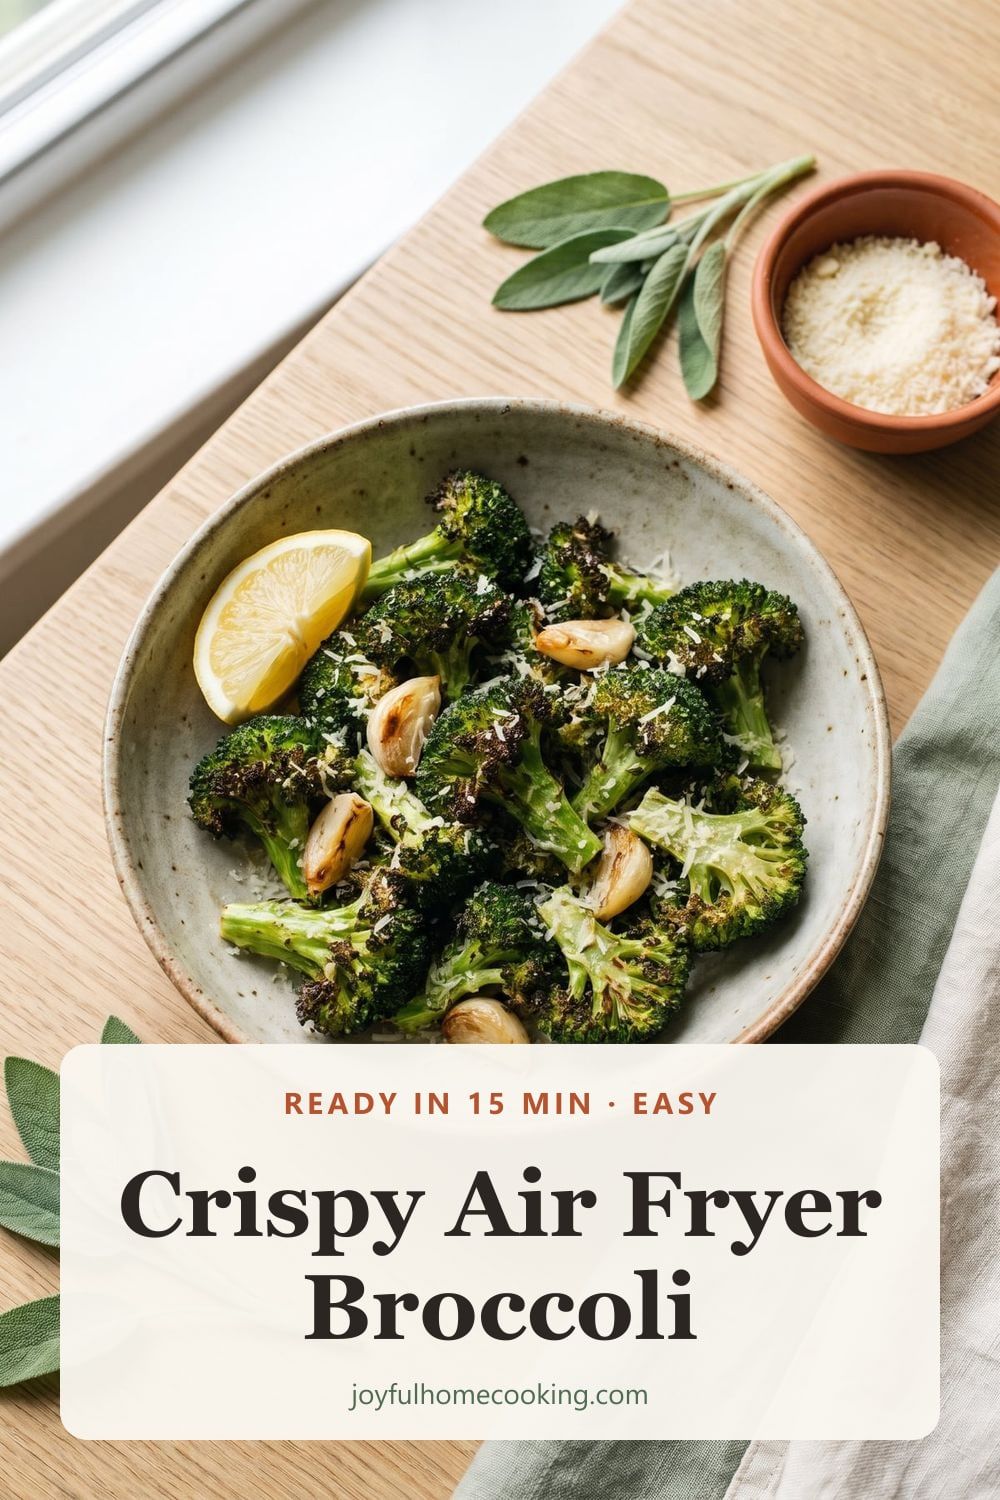
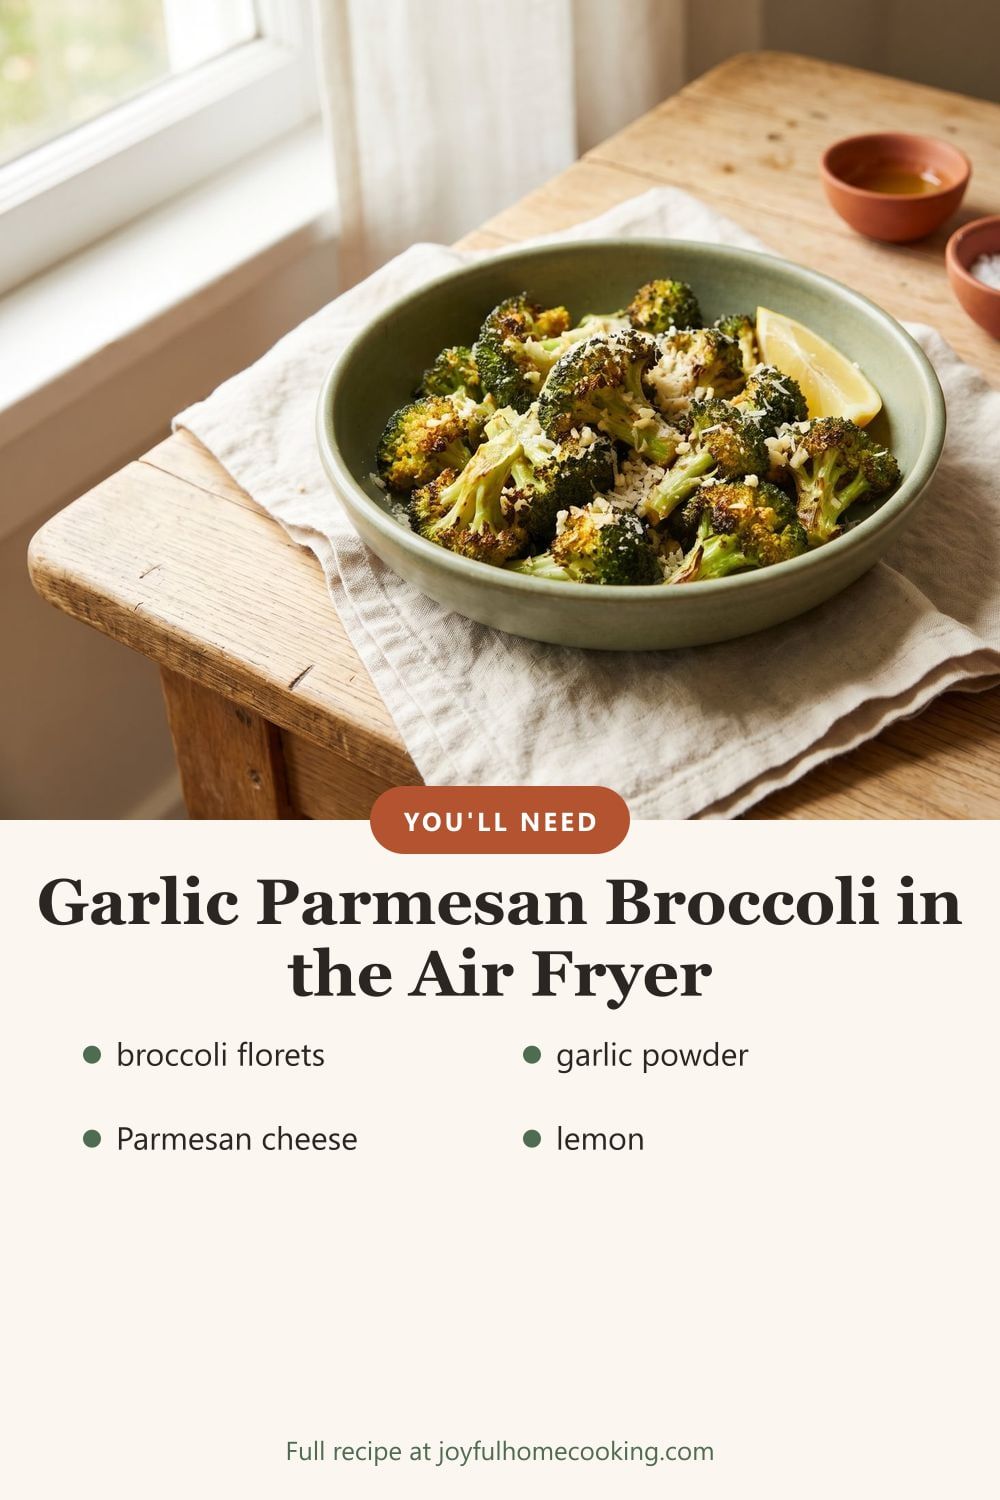
Pin it for later
Save your favorite design to a Pinterest board so the recipe is there when you need it.

Reviews
Be the first to review this recipe
Tell us how it turned out and what you changed. Your notes help other home cooks.
Email us your reviewWritten by Martis Guleryan
Martis Guleryan is the founder of Joyful Home Cooking and writes and edits the recipes and cooking guides on the site, with a focus on easy weeknight dinners, family-friendly baking and clear, practical steps.
Published , last updated . Read our editorial policy.
Sources and food safety references
You might also like
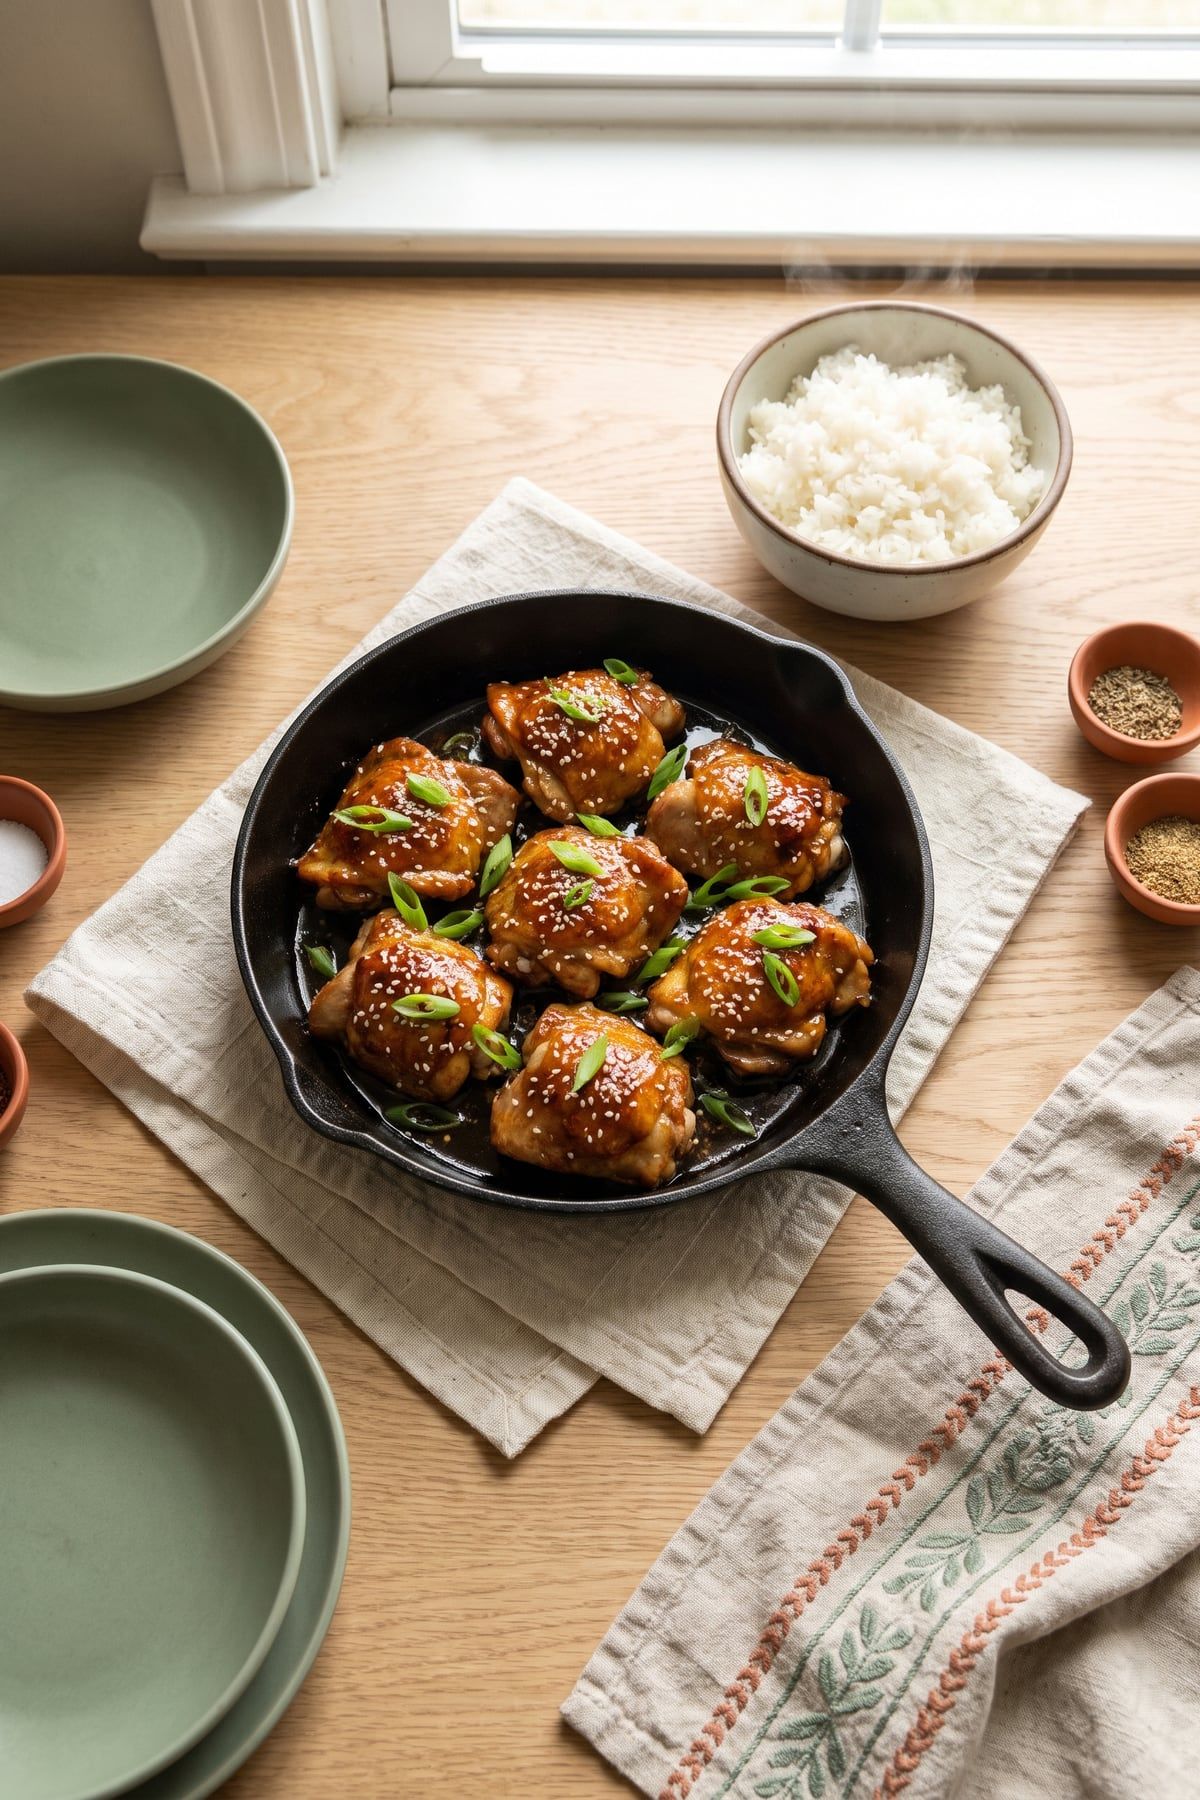
Honey Garlic Chicken Thighs
25 min
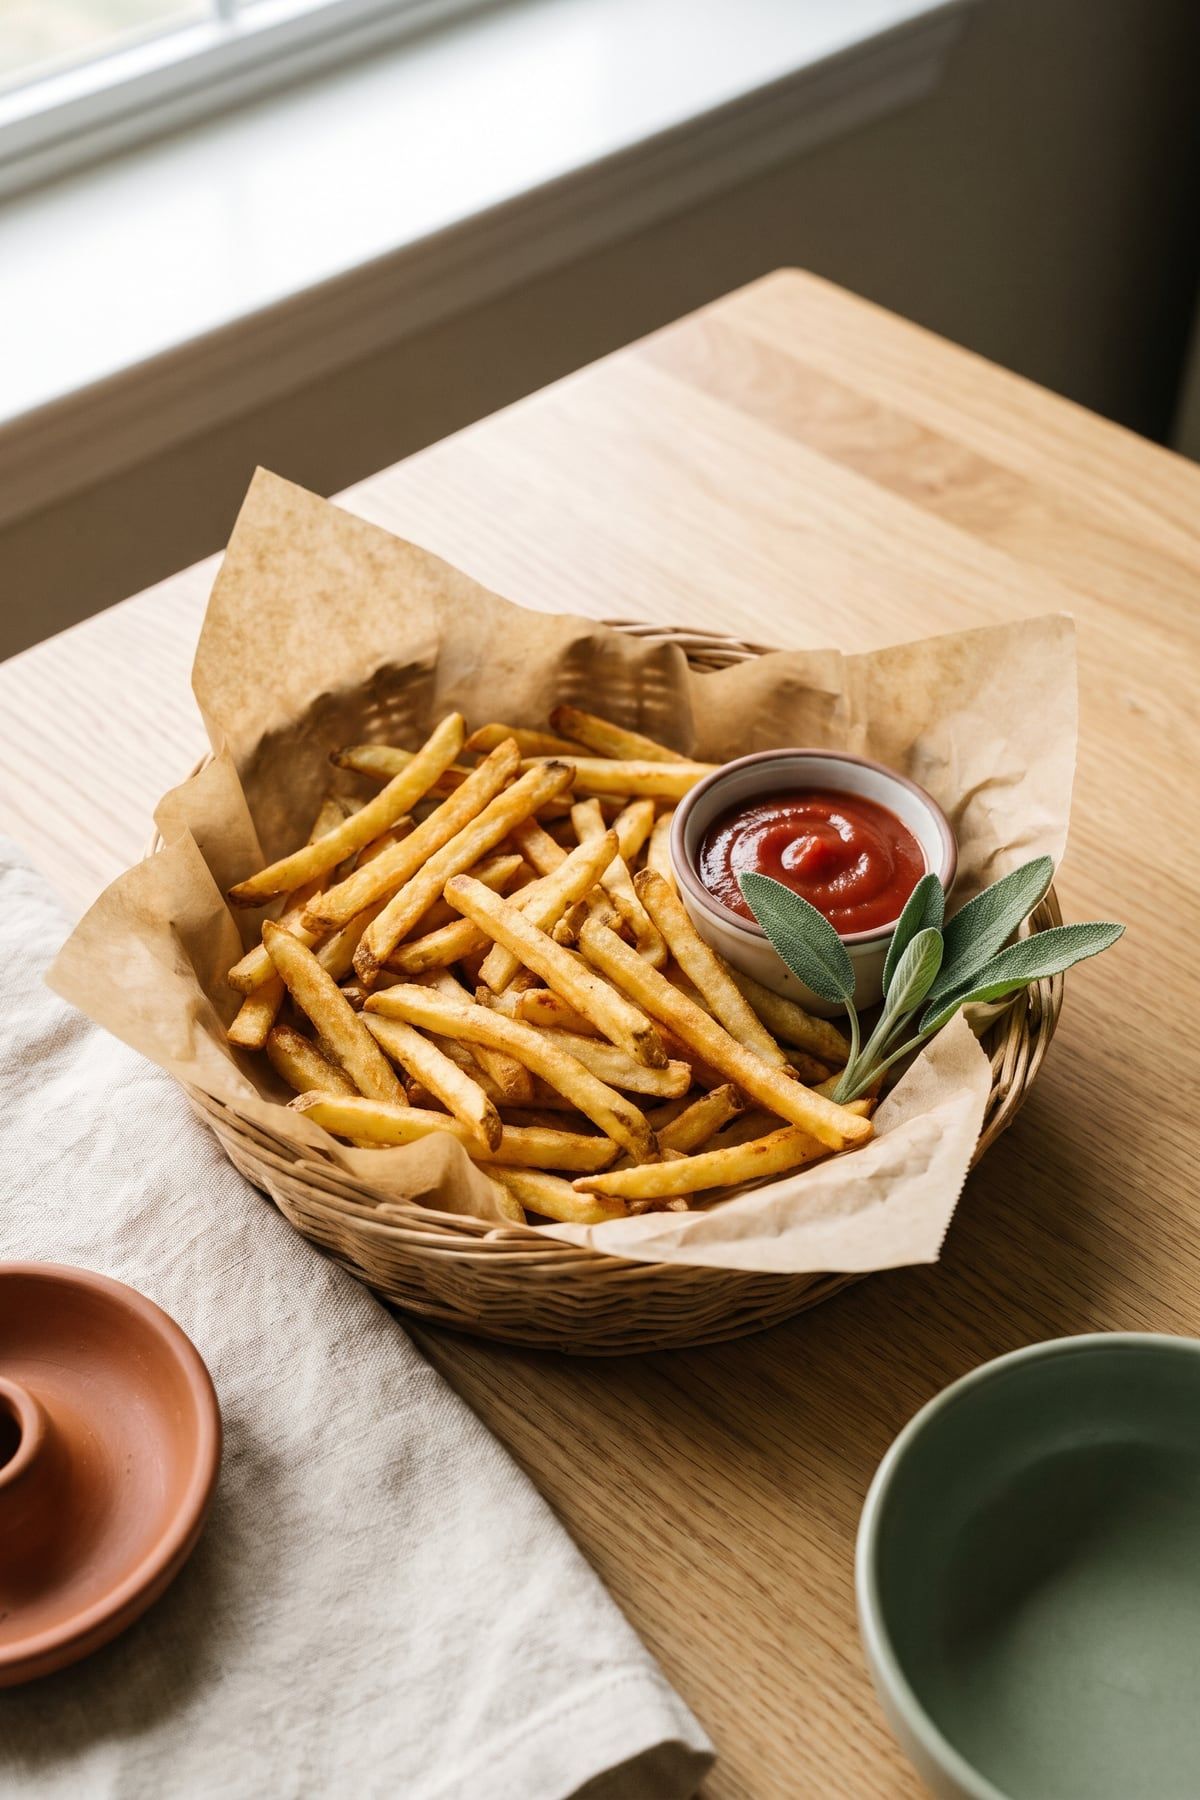
Air Fryer French Fries
1 hr 15 min